I dual-boot Ubuntu and Windows, and I use a bluetooth keyboard. The problem: bluetooth isn’t up yet when GRUB shows its menu, so I couldn’t pick an OS without keeping a wired keyboard around just for that one screen. I built a small hardware switch to fix it.
The idea
A Raspberry Pi Pico shows up as a tiny USB mass storage device holding one config file. A physical SPDT switch flips a value in that file. A custom GRUB script reads it at boot and jumps straight to the right entry, skipping the menu entirely. If the Pico isn’t plugged in, GRUB just falls back to showing the normal menu.
This is built on top of MadRajib’s hardware_boot_selection_switch and the writeup on Hackster. You’ll also need pico-sdk to build the firmware.
What I used
- Raspberry Pi Pico
- Raspberry Pi Pico SDK
- An SPDT switch
- Ubuntu 24.04 LTS as the host
The GRUB script
The actual logic lives in /etc/grub.d/99_switch. It looks for the Pico by its filesystem UUID, reads the switch state, and sets the default boot entry before the timeout even starts:
#!/bin/sh
exec tail -n +3 $0

# Explicitly load FAT filesystem support
insmod fat

# Look for hardware switch device by its hard-coded filesystem ID
search --no-floppy --fs-uuid --set hdswitch 0000-1234

if [ "${hdswitch}" ] ; then
  # PICO CONNECTED: Read switch state and skip the menu instantly
  source (${hdswitch})/switch.cfg

  set timeout_style=hidden
  set timeout=0

  # Single '=' is the correct syntax for GRUB comparisons
  if [ "${os_hw_switch}" = "0" ] ; then
    set default="0" # index of Ubuntu in the GRUB menu, adjust as needed
  elif [ "${os_hw_switch}" = "1" ] ; then
    set default="4" # index of Windows, adjust as needed
  fi
else
  # PICO DISCONNECTED: Show the menu and wait for user input
  set timeout_style=menu
  set timeout=8
fi
Make it executable:
sudo chmod +x /etc/grub.d/99_switchThen in /etc/default/grub, alongside the rest of the defaults:
GRUB_DEFAULT=0
GRUB_SAVEDEFAULT=false
GRUB_TIMEOUT_STYLE=menu
GRUB_TIMEOUT=8
And apply everything with:
sudo update-grubThe build
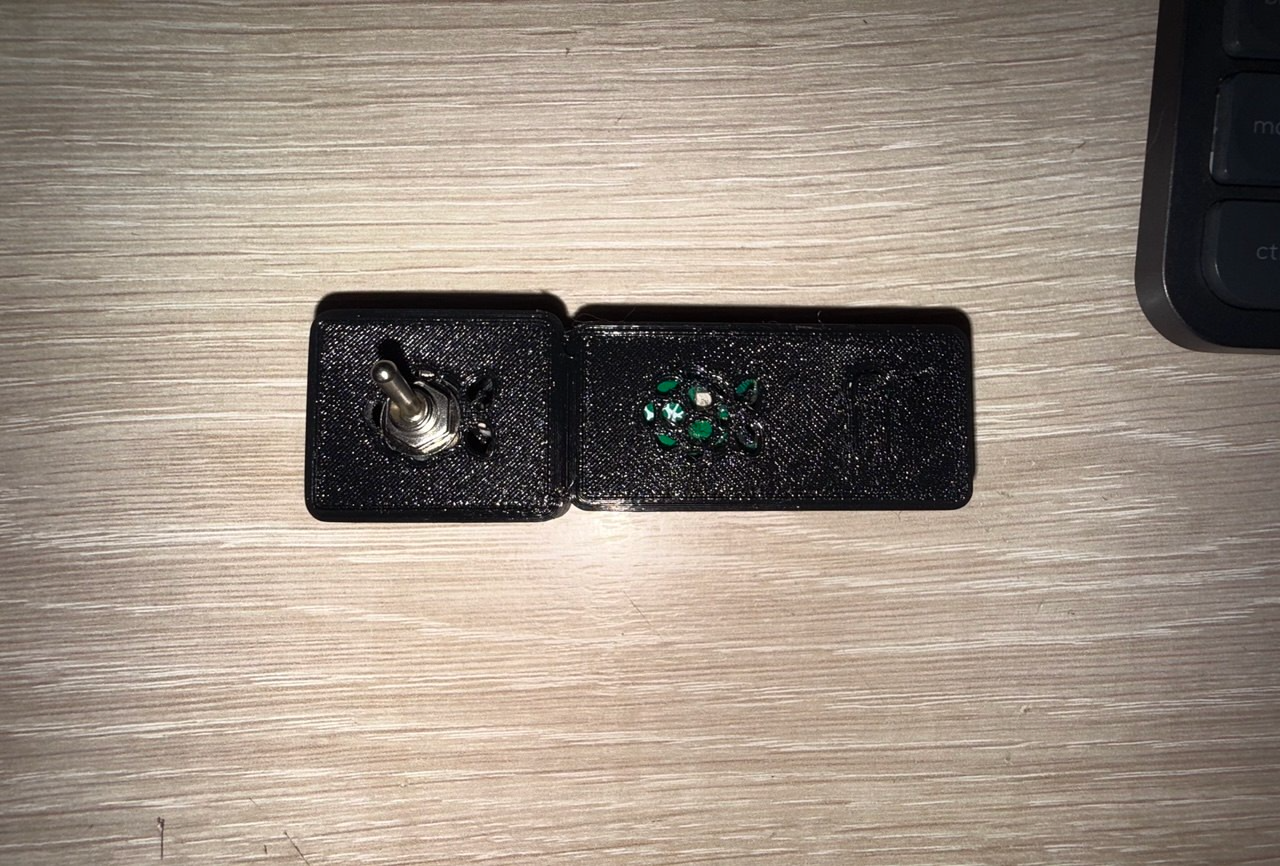
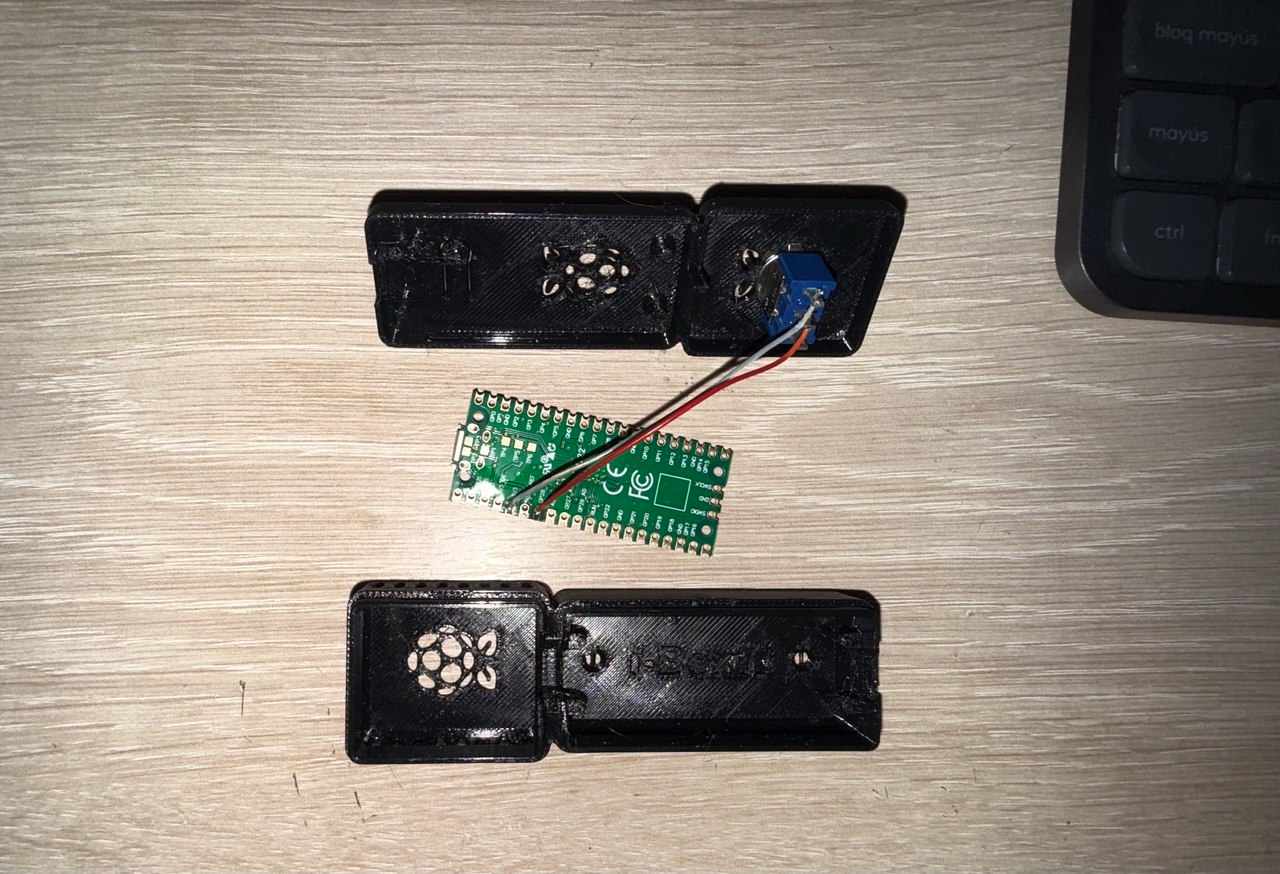
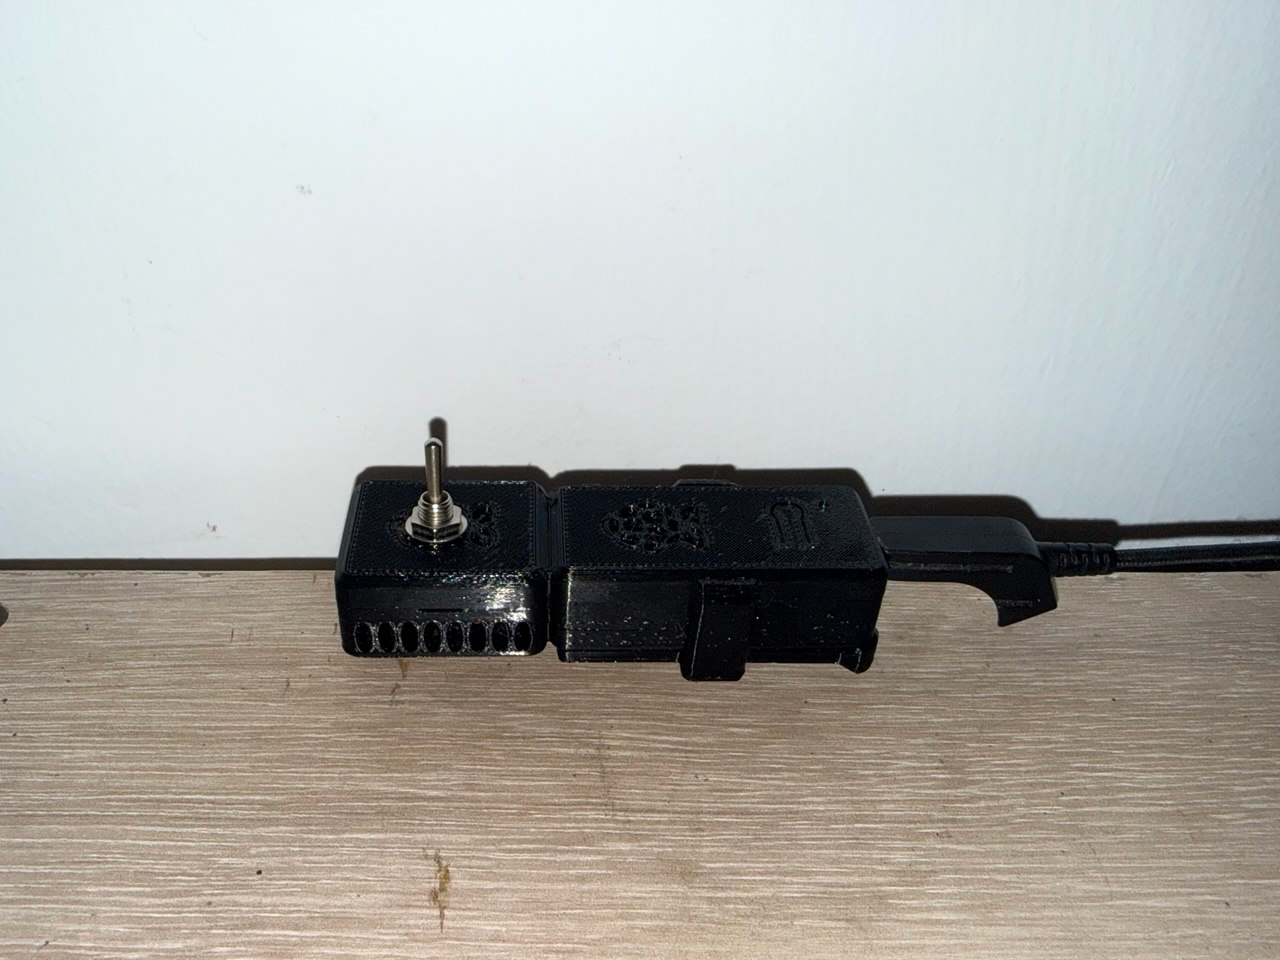
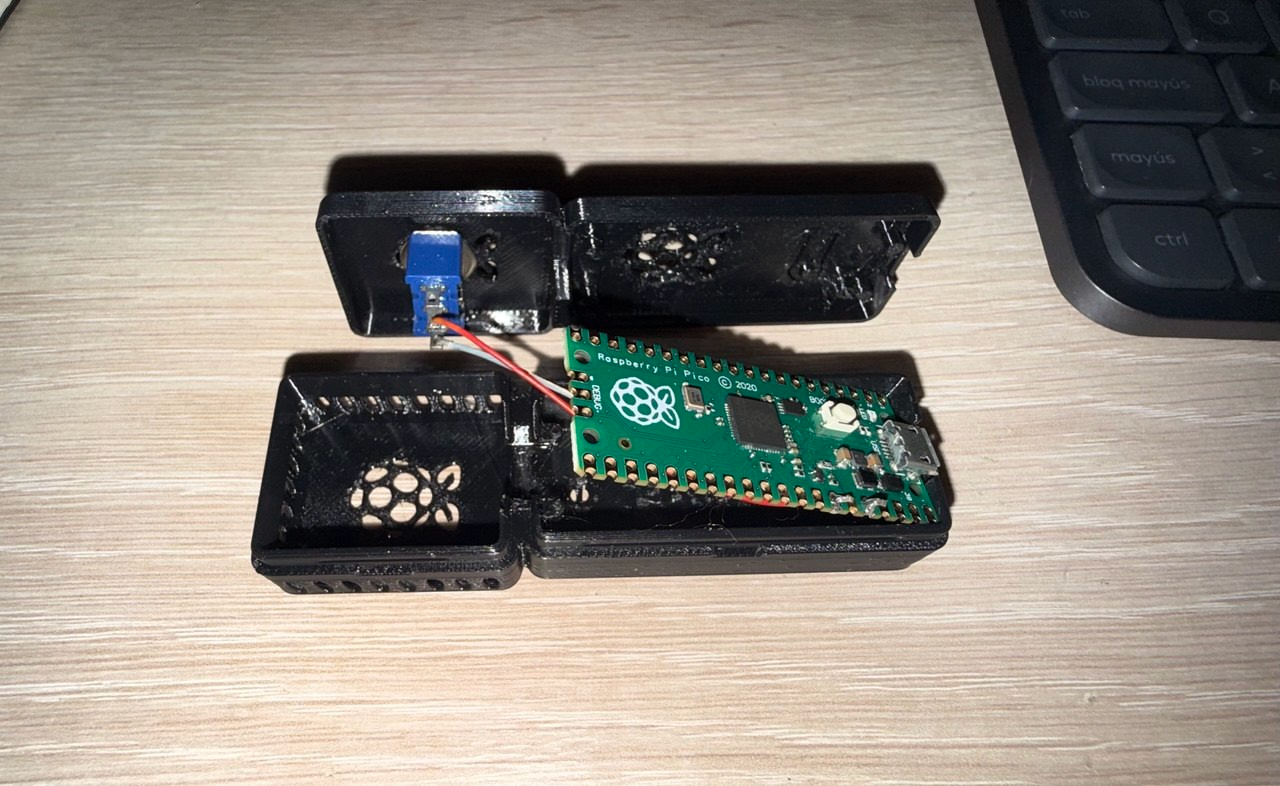
Two 3D-printed halves hold the Pico and the toggle switch, closed up and docked next to the keyboard. I printed this Raspberry Pi Pico case with sensor cage from MakerWorld and drilled it for the switch.
Troubleshooting
If the switch isn’t detected:
- Make sure the Pico is plugged in and powered.
- Check that
switch.cfgexists on the Pico’s filesystem and thatos_hw_switchis set to"0"or"1". Changing the physical switch position only updates the file when the Pico is disconnected and reconnected, so cycle it after flipping.
Result
One physical flip, no keyboard, no menu to sit through. Small project, but it removed a daily annoyance for good.